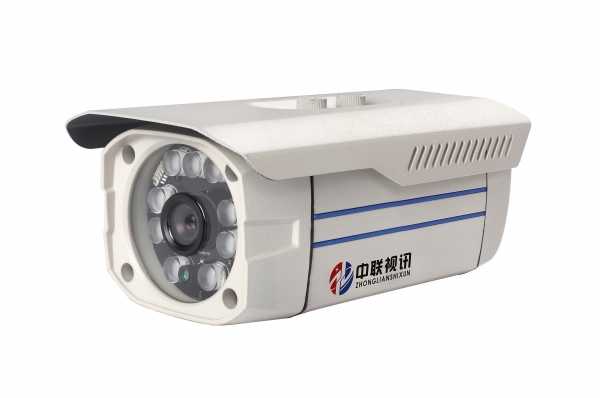
How to proceed Wuxi Monitoring install video camera Many enterprises and public institutions pay more and more attention to monitoring and installation, and the safety awareness is becoming stronger and stronger. How should we install cameras for monitoring and installation in Wuxi at ordinary times? Today, I would like to briefly introduce some methods of how to install cameras in Wuxi!
1、 Wuxi monitoring installation camera installation camera installation method:
1. In the environment of strong electromagnetic interference, the installation of the monitoring camera shall be isolated from the ground.
2. Under the condition of meeting the requirements of the field of view of the monitoring target, its installation height: indoor ground clearance should not be less than 2.5m; The outdoor ground clearance should not be less than 3.5m.
3. The signal line and power line shall be led in separately, and the exposed part shall be protected with hose, which will not affect the rotation of the PTZ.
4. The monitoring camera and its supporting devices, such as lens, protective cover, bracket, wiper, etc., shall be installed firmly, operated flexibly, protected from damage, and coordinated with the surrounding environment.
5. The monitoring camera in the elevator car shall be installed on the left or right side above the car door, and can effectively monitor the facial features of passengers in the elevator car.
6. Take out the support and prepare tools and parts: expansion plug, screw, screwdriver, hammer, electric drill and other necessary tools; According to the predetermined installation position, check the size and model of the expansion plug and self tapping screw, test whether the screw port of the bracket screw and the camera base is suitable, whether the embedded pipeline interface is properly handled, and whether the cable is unblocked. Enter the installation procedure after it is ready.
7. Take out the camera, carefully install the lens according to the camera lens model and specification determined in advance (the infrared integrated camera does not need to install the lens), pay attention not to touch the lens and CCD (the part marked in the figure) with your hands, after confirming that they are firmly fixed, connect the power supply, connect the host or use the monitor, small TV, etc. on the site to adjust the aperture focus.
8. Take out the support, expansion plug, screw, screwdriver, small hammer, electric drill and other tools, and install the support according to the predetermined position. After checking the firmness, install the camera in the agreed direction;
9. If the shield needs to be installed, install the shield directly from here after the second step.
10. Insert the BNC plug of the welded video cable into the socket of the video cable, and confirm that it is firmly fixed.
2、 Wuxi monitoring installation Camera control equipment installation:
1. All cables in the control room shall be set with cable trough and inlet hole according to the equipment installation position, arranged, bound neatly, numbered, and permanently marked.
2. The installation position of the console and cabinet (rack) shall meet the design requirements, and the installation shall be stable, firm and convenient for operation and maintenance.
3. The installation of all control, display, recording and other terminal equipment of the surveillance camera shall be stable and easy to operate. The monitor (screen) shall be free from direct external light, and when unavoidable, light shielding measures shall be taken.
3、 Wuxi monitoring installation How to install the camera:
Only one surveillance camera is needed to connect to the computer, and one camera power supply is usually DC12V/1A. Some cameras are equipped with power boards, and the external power supply can be DC/AC12-24V. Then the video output line BNC interface. The computer only needs a collection card.
4、 Precautions for Wuxi monitoring installation camera installation:
1. When installing the lens, first remove the protective cover of the camera and lens, then gently screw the lens into the lens interface of the camera and make it in place.
2. The use of the camera is very simple. Generally, as long as the lens is correctly installed, the signal cable is connected, and the power is connected, the camera can work. However, in actual use, if the lens cannot be correctly installed and the camera and lens state cannot be adjusted, the expected use effect may not be achieved. Attention should be paid to whether the interface between the lens and the camera is a C-type interface or a CS type interface (remember this, otherwise the CCD chip of the camera may be damaged when the C-type lens is directly screwed into the CS interface camera).
3. For the automatic aperture lens, the control line of the lens should also be connected to the automatic aperture interface of the camera. For the electric two variable lens or three variable lens, as long as the lens is rotated in place, it is not necessary to correct its balance state
4. Adjust the lens aperture and focus to close the electronic shutter and backlight compensation switches on the camera, aim the camera at the scene to be monitored, and adjust the lens aperture and focus ring to optimize the image on the monitor. If the manual aperture is selected, the electronic shutter switch of the camera should be set to ON, and when the application site is the brightest, the lens aperture should be opened as large as possible and the image is still the best, and the lens adjustment is completed.
![]()


